How to Install Tails on a USB Drive: Step-by-Step Guide (2026)
Installing Tails on a USB drive requires three things the official documentation emphasizes: downloading the correct image, verifying its authenticity before writing, and using a supported tool to write it. The signature verification step is not optional if your threat model includes targeted attacks - an attacker who compromises your download channel can serve a modified image that looks and behaves like Tails.
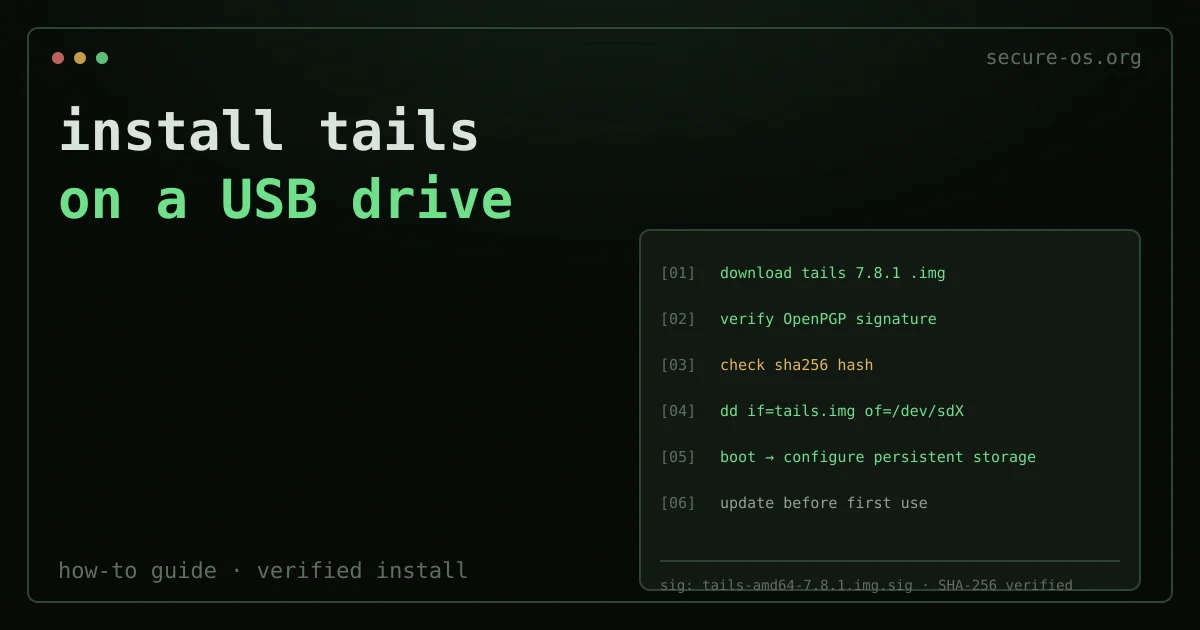
Quick answer: to install Tails on a USB drive: (1) download the official Tails USB image from tails.net; (2) verify its checksum/signature before writing (not optional under a serious threat model); (3) write it to an 8 GB+ USB drive with a supported tool (GNOME Disks or dd on Linux, balenaEtcher or the Tails Cloner cross-platform). Then reboot and pick the USB stick in your boot menu. Full command-line steps below.
This guide covers Tails 7.8.1, the current stable release as of June 2026. It uses command-line tools throughout. If you need a GUI approach, the official Tails installation guide covers Balena Etcher and the Tails Cloner.
What You Need
To install Tails on a USB: A Linux, macOS or Windows machine to perform the installation. The USB drive must be at least 8 GB and will be completely overwritten. USB 3.0 significantly improves performance - the difference between booting in 30 seconds versus 90 seconds on the same machine.
The USB drive itself must be USB-A or USB-C. Some machines (particularly recent MacBooks with only USB-C) require a USB hub; that hub itself can be a target if you have a very high threat model, though in practice it is not a significant concern for most users.
Step 1: Download the Tails Image

Download the USB image directly from the official Tails server:
wget https://mirrors.edge.kernel.org/tails/stable/tails-amd64-7.8.1/tails-amd64-7.8.1.imgAlso download the signing key, the signature file, and the checksum:
# OpenPGP signature
wget https://tails.net/tails-signing.key
wget https://mirrors.edge.kernel.org/tails/stable/tails-amd64-7.8.1/tails-amd64-7.8.1.img.sig
Step 2: Verify the OpenPGP Signature
This is the critical step. Skipping it means you are trusting the download channel completely.
Import the Tails signing key:
gpg --import tails-signing.keyVerify the signature:
gpg --verify tails-amd64-7.8.1.img.sig tails-amd64-7.8.1.imgThe output should include a line like:
Good signature from "Tails developers (offline long-term identity key) <tails@boum.org>"The fingerprint of the Tails signing key as of June 2026 is A490 D0F4 D311 A415 3E2B B7CA DBB8 02B2 58AC D84F. Verify this fingerprint independently against the Tails official documentation and at least one additional source (a mirror you trust, a colleague who has previously verified it, or the Debian keyserver).
You will also see a warning:
WARNING: This key is not certified with a trusted signature!This warning means the key has not been signed by a key in your personal trust web. It does not indicate tampering - it means you should verify the fingerprint through the out-of-band channel described above.
If you see BAD signature: stop. Do not write the image. Re-download from a different mirror and repeat verification.
Step 3: Write the Image to USB
Identify the correct device:
lsblkLook for a device of the correct size - for example, /dev/sdb for an 8 GB USB drive. Double-check this before proceeding. Writing to the wrong device will overwrite data without recovery.
Write the image using dd:
sudo dd if=tails-amd64-7.8.1.img of=/dev/sdX bs=16M oflag=direct status=progress
sync
Replace /dev/sdX with your actual device (e.g., /dev/sdb). The bs=16M block size is substantially faster than the default bs=512. oflag=direct bypasses the page cache and ensures writes reach the device.
This takes approximately 3-8 minutes depending on USB speed.
Step 4: Boot Tails
Insert the USB drive. Restart your machine and select the USB drive as the boot device. On most machines, pressing F2, F12, Esc or Del during startup opens the boot menu. The exact key is printed on-screen during POST on most hardware.
On UEFI systems, you may need to disable Secure Boot temporarily. Tails does not ship with signed EFI binaries for all possible Secure Boot configurations - a limitation the project is aware of and working on. See tails.net/support/faq/ for current status.
On first boot, Tails starts a Welcome Screen where you can:
- Set the language
- Set the keyboard layout
- Configure an administration password (needed for certain operations)
- Enable MAC address spoofing (enabled by default - keeps your hardware from being tracked on local networks)
- Configure a bridge if direct Tor access is blocked
Step 5: Set Up Persistent Storage
By default, Tails saves nothing between sessions - that is its core security property. The Persistent Storage feature is an encrypted partition on the same USB drive that survives reboots. It is protected by a passphrase and is optional.
From the Applications menu, go to Tails → Persistent Storage. Set a strong passphrase. You can then choose which categories to persist:
- Personal files
- Browser bookmarks
- Network connections (Wi-Fi SSIDs)
- Tor Browser level and bridges
- Additional software packages
Persistent Storage is encrypted with LUKS2. The passphrase protects the stored data if the USB drive is seized while you are not using it.
Threat model note: Persistent Storage trades some of Tails’s amnesic property for convenience. If your threat model requires that no session data survive under any circumstances, do not enable it. For most journalists and activists who need to maintain session continuity across multiple working days, Persistent Storage is appropriate.
Step 6: Keep Tails Updated
Tails updates automatically when connected to the internet. When an update is available, Tails notifies you at the start of the session. Always update before a sensitive operation - Tails has had critical fixes (including Tor Browser security patches) in minor releases.
You can also update from the terminal:
tails-upgrade-frontend-wrapperWhat Tails Does Not Protect Against
Understanding the limits is as important as the setup. For a complete analysis of Tails’s threat model and comparison with Whonix and Qubes OS, see the linked articles.
In brief:
- Your Tor entry guard knows your IP address. Tails forces traffic through Tor, but your ISP and the entry node of the Tor circuit know your real IP. Use a bridge if Tor usage itself is dangerous in your location.
- BIOS/UEFI firmware is not modified or verified. A compromised BIOS can persist across Tails sessions.
- Cold boot attacks on RAM are theoretically possible while the machine is running.
- Screen recording via hardware (e.g., a compromised external display) is outside Tails’s threat model.
FAQ
Q: Can I use any USB drive for Tails? A: Any USB 2.0 or 3.0 drive of 8 GB or larger works. USB 3.0 is strongly recommended for usability - boot times drop from 60-90 seconds to 20-35 seconds. Avoid cheap USB drives with unreliable flash memory; Tails writes to the drive frequently during operation. Reputable brands (Samsung, SanDisk, Kingston) have fewer write failures.
Q: Can I install Tails on a USB drive from Windows? A: Yes. The official Tails Installer for Windows uses a graphical interface and performs the signature check automatically. Download it from tails.net/install/windows. The command-line procedure in this guide is a Linux/macOS approach.
Q: Does Tails work on Apple Silicon (M1/M2/M3)? A: As of June 2026, Tails does not officially support Apple Silicon. Tails runs on x86-64 hardware only. Apple’s ARM architecture requires a significantly different boot process and Tails’s hardware compatibility work has focused on x86. Check tails.net/support/known_issues/ for current status.